
A pick is easy to hand across a counter. A capo is easy to put in a gift bag. Both can disappoint when the conversation stops at price or color. Spend a few minutes checking how the accessory behaves on the player’s instrument.
For gift buyers, find out what the recipient plays before suggesting a model-specific item. A photograph of the guitar or an existing accessory can resolve more than a long exchange of uncertain descriptions. If the instrument is unknown, explain which choices need that information and what the store's exchange policy permits.
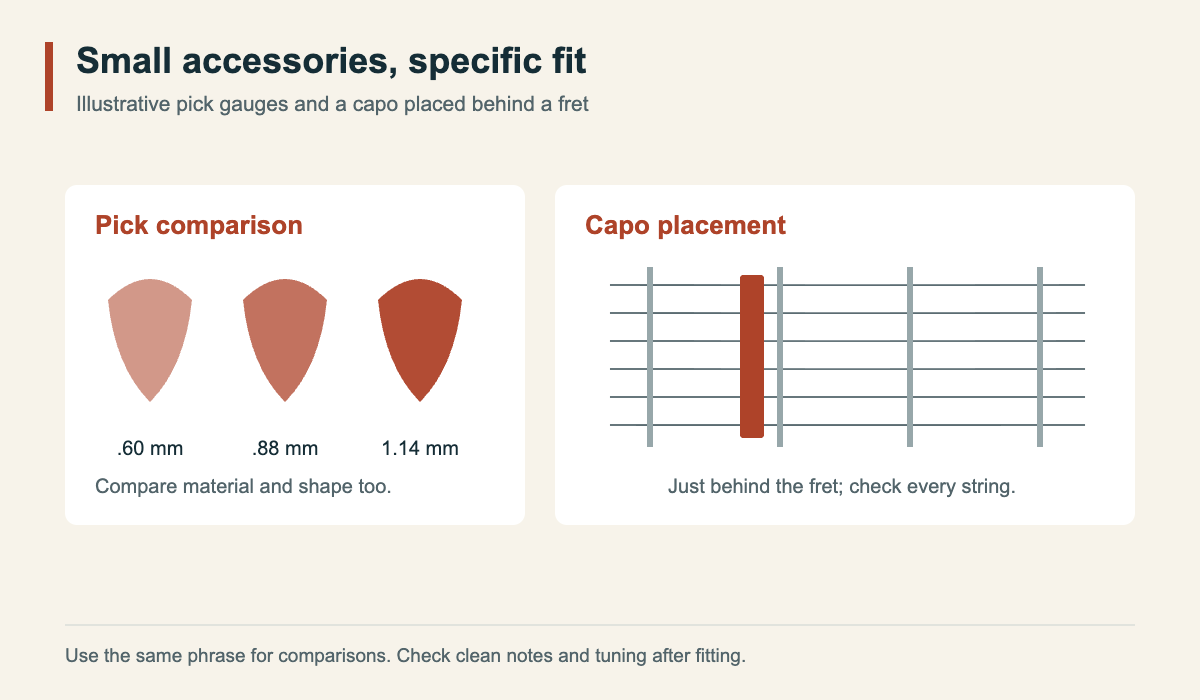
Compare picks with the same musical phrase
Thickness, material, size, and shape all affect a pick's feel. The number printed on it is useful, but it is not a complete description. Different materials at the same nominal thickness can flex differently.
Offer a small contrast: two or three picks, one guitar, and the same short strummed pattern or single-note phrase. Ask the player to compare grip, flexibility, attack, and the effort needed to repeat the phrase. Keep amplifier settings unchanged during the comparison.
A beginner does not need a rule that thin picks are for one kind of musician and thick picks for another. A manageable choice and a reason to revisit it are more useful. Write down the selected model and thickness; tiny accessories are particularly easy to misremember.
Explain what the capo changes
A capo stops the strings at a chosen fret, raising their open sounding pitches. At the second fret, a full capo raises those pitches by two semitones. A player can retain familiar chord shapes while changing the sounding key, subject to the music's requirements and the guitar's available range.
Demonstrate one chord shape without the capo, then with it. Name both the shape and the sounding chord. For example, a C-major shape with a full capo at fret two sounds D major in standard tuning. That distinction helps customers use charts and communicate with other musicians.
Check width, curvature, and pressure
A capo must cover the strings it is intended to stop and suit the neck and fingerboard. Classical, steel-string, and 12-string instruments can present different fitting needs. Use the capo maker's specifications, then check the actual fit.
Place it close behind the chosen fret without sitting on the fret itself. Avoid pushing the strings sideways. Where pressure is adjustable, use enough for clean notes without unnecessary compression. Check every string and retune as needed after fitting.
If a note buzzes or sounds sharp, investigate placement and fit before assuming more pressure is the answer. A capo that works comfortably on one instrument may require a different approach on another.
Let the customer repeat the process
Remove the capo and ask the player to install it again. Listen to a chord and then each string. That return demonstration shows whether the explanation was usable. Show where the capo can be stored and how to avoid leaving it clamped to the instrument unnecessarily.
For pick and capo sales alike, a short demonstration gives staff a chance to learn the customer's playing needs. The accessory can earn its place through an audible or practical improvement, without an exaggerated promise about transforming the player’s sound.